How to Integrate Node.js Backend with React
In this article, we'll discover how to link React to Node.js on the backend. As a backend framework, Express.js will be utilized.
Frontend Definition:
The front end, to put it simply, is the user interface that they view and interact with. HTML, CSS, and JavaScript make up the majority of front-end development technology. The client side is another name for it.
We employ frameworks like React, Angular, Vue, and others to make frontend development simpler. Today's article will make use of React. On codedamn, there is a free React course you can take to get started with the technology.
If you wish to pursue a career in the field of frontend development, have a look at this blog post on how to develop and build React apps with Node.js backend if you wish to pursue a career in that field in 2023.
Describe Backend
Backend development is the process of building the application's server side. It primarily manages the application's data and logic. Backend development uses tools like Express.js, Python, Java, PHP, etc.
Express.js, a Node.js back-end web application framework, will be used in this tutorial.
What's the Relationship Between the Frontend and Backend?
The front end and back end can be joined in a number of ways. We will use an API (Application Programming Interface) endpoint that is exposed from the backend in this tutorial's front end. Our front end and back end will function in tandem in this manner.
Prerequisites - Installing Node.js
Node.js must be installed on your computer.
The usage of Node Version Manager is the simplest method for installing Node.js. You can install, update, and switch between several Node.js versions with this bash script.
The following command can be used to install the most recent version of Node.js after nvm has been installed:
install node nvmBy using the following command, you may determine the Node.js version:
node -vBash, abbreviated as bash.
Npm (Node Package Manager) will also be installed on your system when Node.js is. Run the following command to determine the version of npm:
npm -vInstall Node.js and Check Versions
Follow these steps to install Node.js and check the versions of Node and npm:
- Download and install Node.js from the official website: https://nodejs.org/
- Open your command prompt or terminal.
- To check the version of Node.js, run the following command:
node -v- To check the version of npm (Node Package Manager), run the following command:
npm -vEnsure that you have Node.js and npm installed and that you see their respective version numbers.

Project Organization and React Setup
Project Organization
The backend code will be placed in the server folder, and the frontend code in the client folder. To build the front-end application, we'll utilize create-react-app.
Building the Frontend React Application
We'll start by building a React application. Run the following command in your terminal to build a React application:
create-react-app clientBash, abbreviated as bash.
If something similar is stated:
Installing the upcoming packages is necessary:
create-react-app@5.0.1
You may go now? Bash (bash) is the language of code.
After that, press Y and enter.
Create React App and Start the Application
This program will generate boilerplate code for a React app in the client folder.
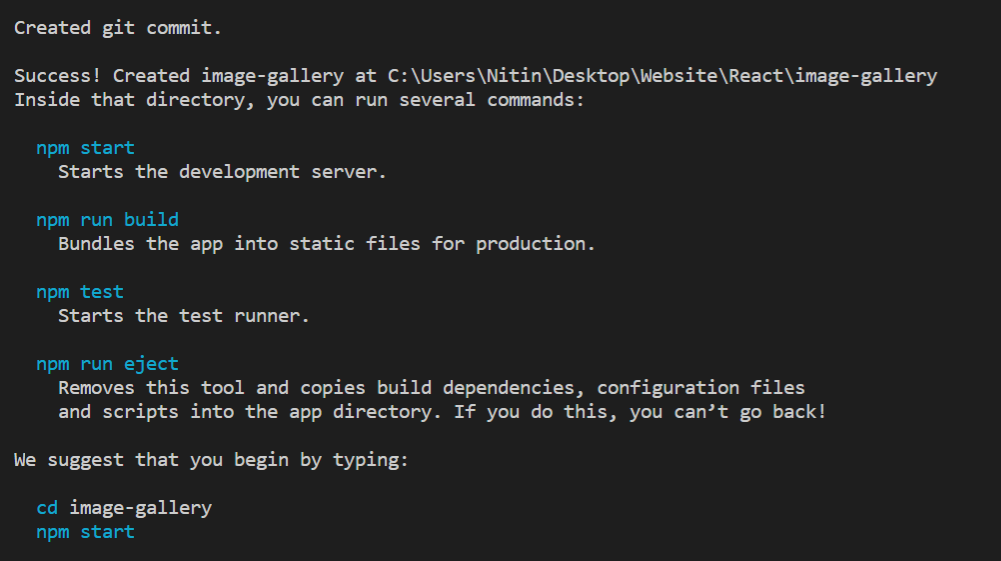
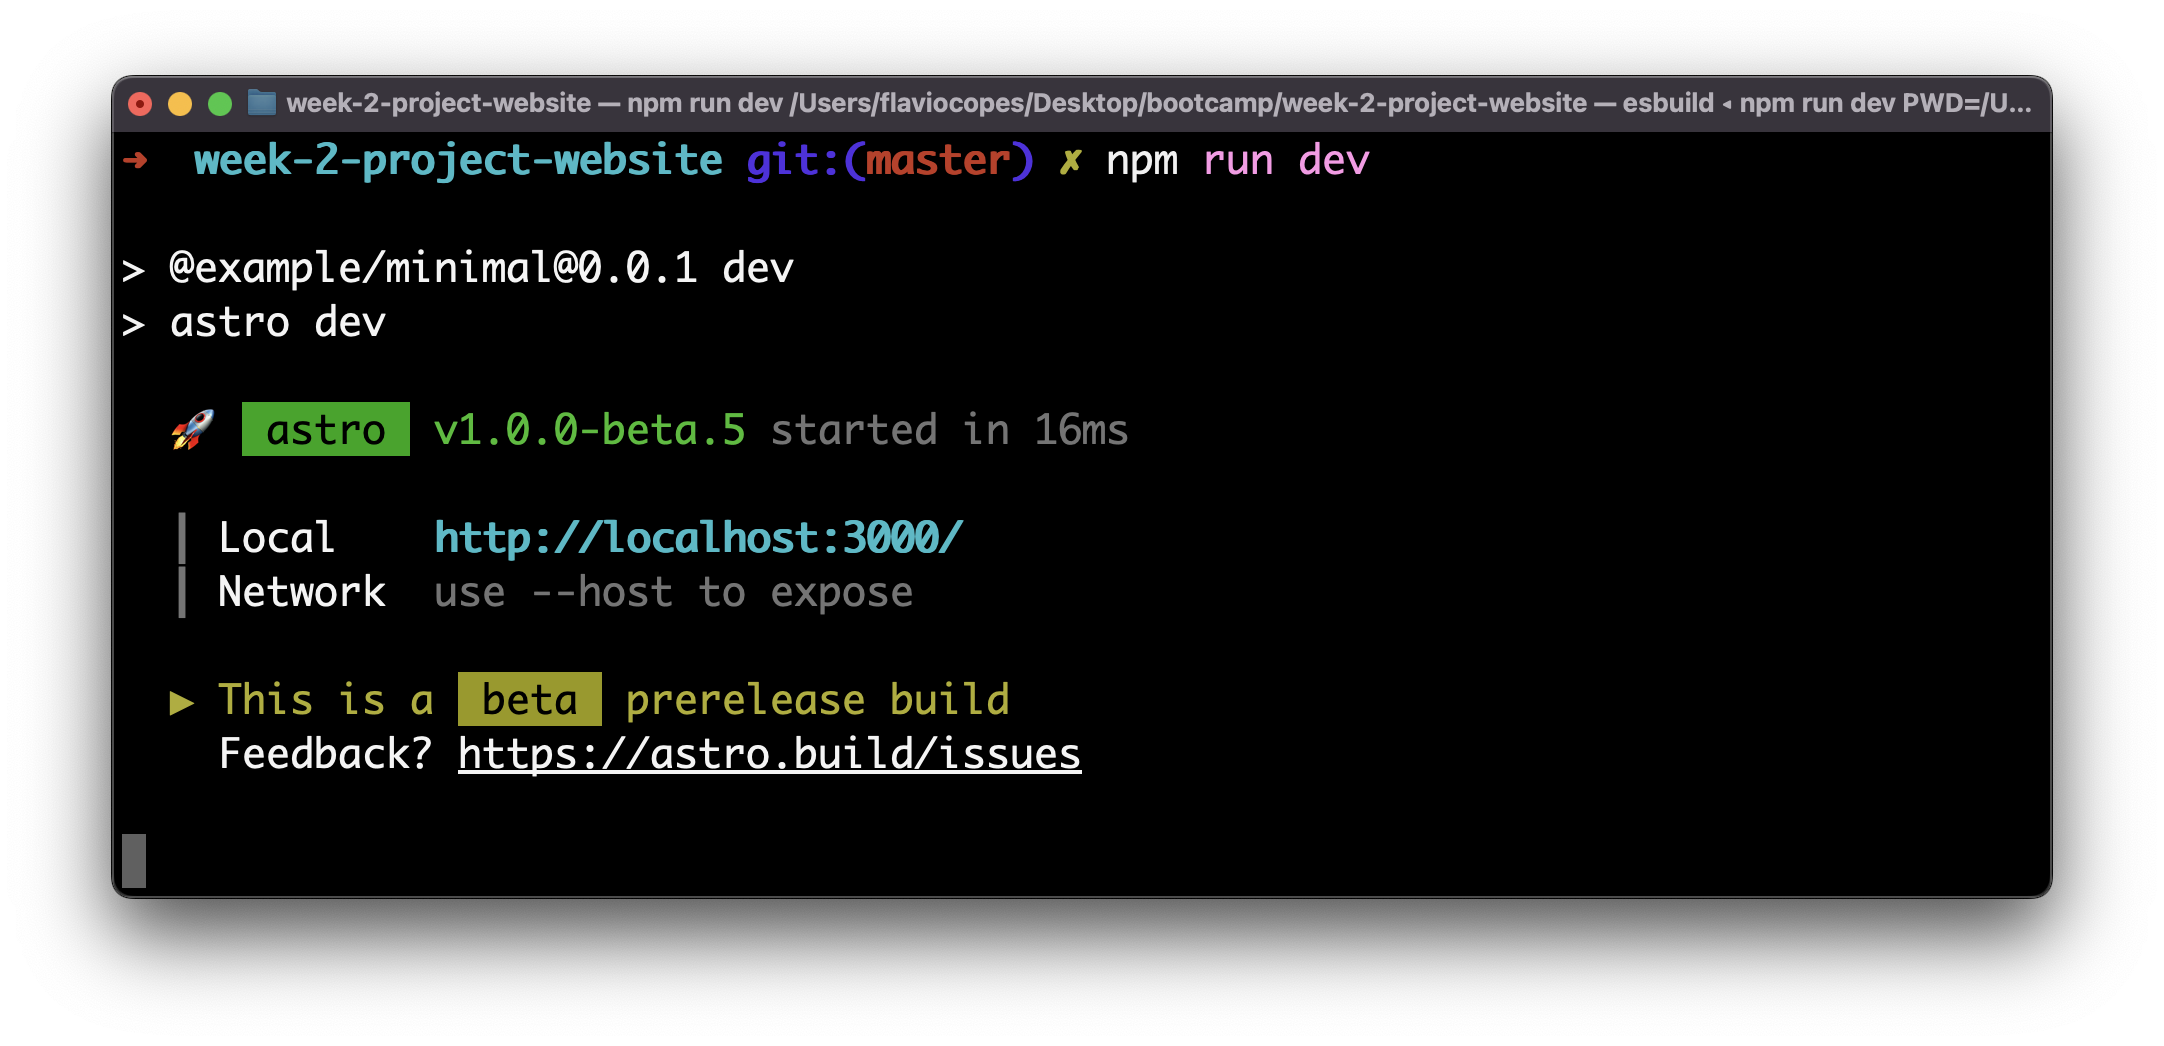
After creating the React app, run the following command in your terminal to launch the React application:
cd client
npm startBash, abbreviated as bash.
The React application will launch with this command on port 3000.
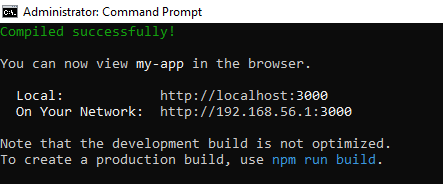
Browse to http://localhost:3000 in your browser. There you can see how the React application is now operating:
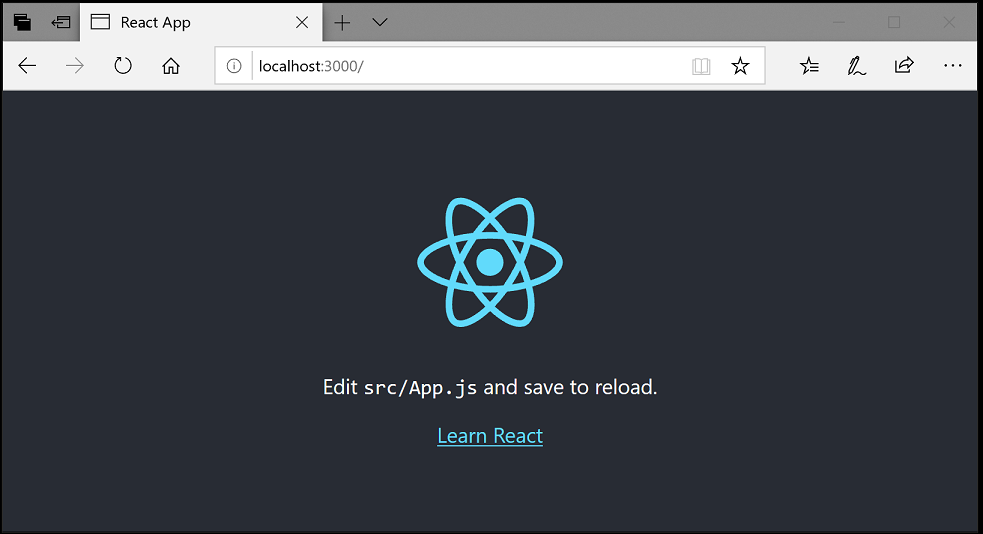
Let's start building the backend application now that the frontend application is operational.
Step 2: Constructing the Node.js Server's Backend
Setting up the prerequisites:
Open a new terminal and start a Node.js project in the server directory you just made.

npm init -y
mkdir server
cd server
Note: To start the project without any prompts, use npm init -y. npm init can be used to initialize the project with prompts. npm init information may be found here.
The next step is to install the application's necessary dependencies:
npm install cors expressBash, abbreviated as bash.
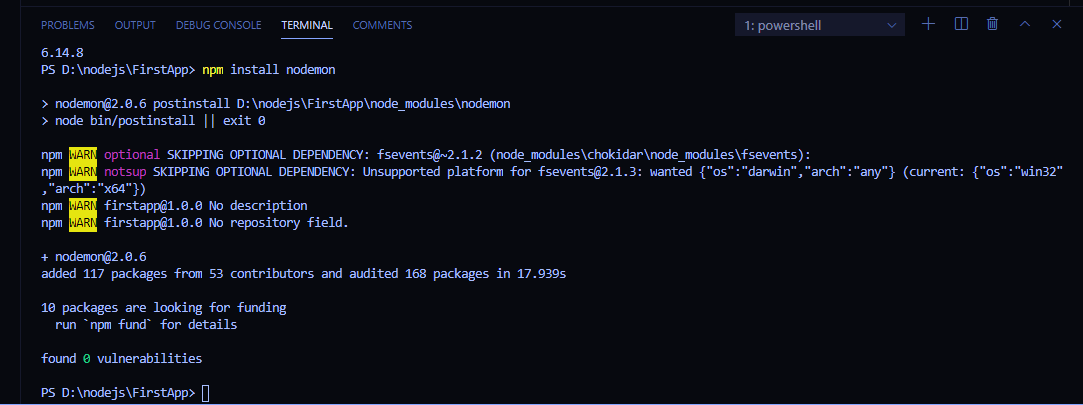
We will set up nodemon as a development dependency for our needs:
npm install nodemon --save-devWe'll install the server prerequisites that are necessary for our backend application:
- express: A Node.js web application framework.
- cors: A Node.js package used to support cross-origin queries (CORS).
- nodemon: A tool to automatically restart the server when source code modifications are detected.
To start the server, we will add a start script to the package.json file:
"scripts": {
    "start": "nodemon server.js",
    "dev": "node server.js"
}
At this stage, the dev and start scripts have been added to the package.json file, and all of the dependencies have been installed. Let's start the server creation process right away.
1. Adding a New Server.js File
Start by adding a new server.js file to the server folder.
2. First Import Express and Cors
Constants express and cors are required to be used together.
Here, we're importing the express and cors modules using the built-in Node.js function require(), which allows you to include other modules in your application.
const express = require('express');
const cors = require('cors');
3. Produce an Express Program
Here, we create an Express application using express():
const app = express();4. Use Express Middleware
We use cors() and express.json() as middleware for our Express application:
app.use(cors());
app.use(express.json());
At this stage, the dev and start scripts have been added to the package.json file, and all of the dependencies have been installed. Let's start the server creation process right away.
1. Adding a New Server.js File
Start by adding a new server.js file to the server folder.
2. First Import Express and Cors
Constants express and cors are required to be used together.
Here, we're importing the express and cors modules using the built-in Node.js function require(), which allows you to include other modules in your application.
const express = require('express');
const cors = require('cors');
3. Produce an Express Program
Here, we create an Express application using express():
const app = express();4. Use Express Middleware
We use cors() and express.json() as middleware for our Express application:
app.use(cors());
app.use(express.json({ message: "Hello from server!" }));
Now, we'll build a JSON endpoint with the message "Hello from server!" that returns messages. To construct a GET route, we are using app.get(). It requires two arguments:
- The endpoint's path, which in this case is simply
/message. - The callback, which may be a single middleware function or an assortment/series of several.
We are using res.json() to send a JSON response because we are returning a JSON object.
GET is one of the HTTP methods. More information on HTTP methods can be found here.
Start the server application:
app.listen(8000, () => {
    console.log("Server is operating on port 8000.");
});
We will use app.listen(), which accepts two arguments, to launch the server.
- The port that the server will run on. It is 8000 in our situation.
- When the server starts, a callback function is invoked, and in our example, it just logs the server's running message.
This is how the finished server.js file will appear:
const express = require("express");
const cors = require("cors");
const app = express();

app.use(cors());
app.use(express.json());

app.get("/message", (req, res) => {
  res.json({ message: "Hello from server!" });
});

app.listen(8000, () => {
  console.log("Server is running on port 8000.");
});
Open a terminal and enter the following command to launch the backend server:
npm run devBash, abbreviated as bash.
The server will launch with this command on either port 8000 or 3000.
Launch the server on port 3000 or 8000.
Replace the existing code by opening the App.js file in the src folder and adding the following:
import React, { useState, useEffect } from "react";
import "./App.css";

function App() {
const [message, setMessage] = useState("");

useEffect(() => {
fetch("http://localhost:8000/message")
  .then((res) => res.json())
  .then((data) => setMessage(data.message));
}, []);

return (
<div className="App">
  <h1>{message}</h1>
</div>
);
}

export default App
Let's examine the code.
- First, we are importing the React module's
useStateanduseEffect. - In order to call the API when the component mounts, we use
useEffectto generate a state variablemessage. fetch()is used to make an API request inside theuseEffecthook, and the response is set to themessagestate variable.- To ensure that the
useEffecthook is only invoked once when the component mounts, notice that we gave an empty array as the second argument to theuseEffecthook (i.e., the deps parameter). - The
messagestate variable is now being rendered in theh1tag.
Launch your browser and navigate to http://localhost:3000/ to see the message "Hello from server!" on the screen.
Conclusion
This article showed us how to link React to Node.js on the backend. We built a straightforward React application and linked it to a Node.js backend. Express.js served as our backend framework.
If you'd like to get in touch or discuss potential collaboration opportunities, feel free to drop me an email at wilsonmuita41@gmail.com. I'm also active on LinkedIn and Facebook, where I share web development insights and updates.
Thank you for visiting my blog, and I hope you find it informative and inspiring. Let's connect and embark on this exciting journey together!
Leave a Reply
Your email address will not be published. Required fields are marked with *
Comments